You've finally finished that edit. The pacing is tight. The color grade looks cinematic. Then you realize you shot it in 16:9 landscape, but the client just texted saying they need it for a TikTok ad. Or maybe you're dealing with that annoying "letterboxing" where those black bars eat up half your screen because your sequence settings don't match your footage.
Figuring out how to change aspect ratio Premiere Pro isn't just about clicking a button and hoping for the best. If you do it wrong, you end up with "fat face" syndrome where everyone looks stretched, or you lose the top of your subject's head. It’s frustrating.
Adobe doesn't exactly make it a one-click affair buried in a "Make it Vertical" menu. Instead, you have to understand how sequences work. Sequences are basically the "box" your video lives in. If the box is the wrong shape, the video inside is going to look weird.
The Sequence Settings Method: Total Control
Most editors start here. It's the "manual" way, but it's the most reliable if you want to know exactly what’s happening to your pixels.
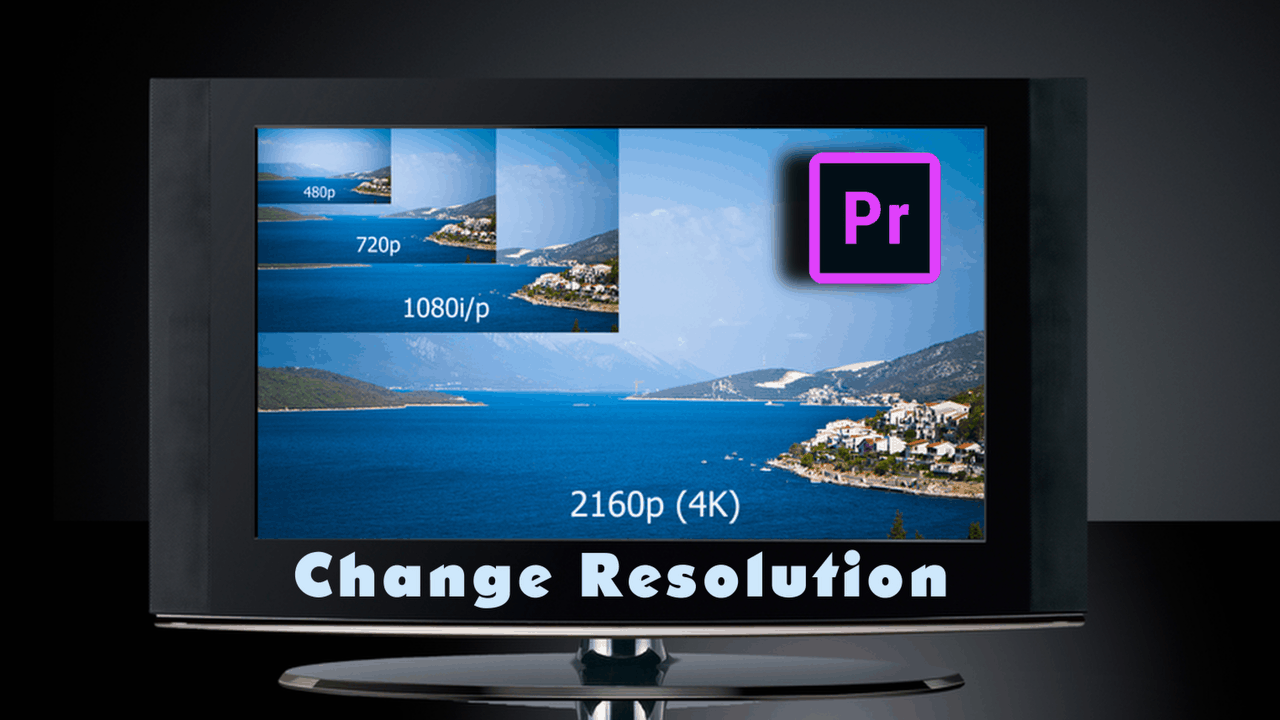
First, look at your timeline. Make sure it's the active window. You'll want to head up to the top menu and hit Sequence > Sequence Settings. This is where the magic (or the mess) happens. Inside that popup, look for the "Video" section. You’ll see "Frame Size." This is your aspect ratio expressed in pixels.
If you want the standard 16:9 widescreen you see on YouTube, that’s usually 1920 horizontal and 1080 vertical. To flip that for a phone screen (9:16), you literally just swap the numbers. Make it 1080 wide and 1920 high. Premiere might give you a warning saying "Changes to preview files cannot be undone." Don't sweat it. Just hit OK.
Now, here is the part where people freak out. Your video probably looks tiny now, or it's zoomed in way too much. This is because you changed the size of the container, but the video inside stayed the same.
Auto Reframe: The AI Savior
If you have a twenty-minute video and you need to turn it into a vertical reel, moving every single clip by hand is a nightmare. This is where Auto Reframe comes in. Adobe added this a few years ago using their "Sensei" AI, and honestly, it’s surprisingly good at tracking movement.
Instead of messing with sequence settings yourself, right-click your sequence in the Project Panel. Select Auto Reframe Sequence. A window pops up. It asks what ratio you want.
- Square (1:1)
- Vertical (9:16)
- Back to Widescreen (16:9)
The cool thing? It analyzes the motion. If you have a person walking across the frame, it tries to keep them centered so you don't just have a vertical shot of an empty wall while the action happens off-screen. It’s not perfect—sometimes it gets distracted by a bright light or a moving car—but it saves hours of keyframing.
Dealing with the "Black Bar" Problem
Let's talk about the letterbox. You’ve changed the ratio, and now you have black bars. You have two choices. You can either scale the footage up until it fills the screen, or you can use a "blurred background" effect.
Scaling up is easy. Go to Effect Controls and crank up the Scale slider. Just keep in mind that if you’re blowing up 1080p footage too much, it’s going to look grainy and soft. It's physics. You can't invent pixels that aren't there. If you're working with 4K footage and exporting for a 1080p Instagram post, you’ve got plenty of "room" to zoom in without losing quality.
The blurred background trick is a classic. You duplicate your clip, put the bottom version on Track 1, scale it up until it fills the background, and then hit it with a Gaussian Blur. Set the blur to 50 or so. It’s a bit of a cliché now, but for news segments or quick social clips, it works.
Why Aspect Ratios Actually Matter
It’s easy to think this is just technical busywork. It’s not. Cinematic history is built on these numbers.
Back in the day, everything was 4:3. That’s why old TV shows look like squares. Then came the "Anamorphic" era, where filmmakers wanted that ultra-wide look (2.35:1 or 2.39:1). When you see those super thin black bars on a movie, that’s what’s happening.
If you're making a "Cinematic" YouTube video, you might want to change your aspect ratio to something like 21:9. It gives that high-budget feel. But if you do that, you have to be careful about where your titles go. If you put a title at the bottom of the 16:9 frame and then crop it to 21:9, your text is gone.
The Set-Up: Create a New Sequence from Scratch
Sometimes it’s easier to just start over. If you know you're making a vertical video, don't drag your 16:9 clip into a new timeline and let Premiere "match" the settings. Premiere will just make a widescreen timeline.
Instead, hit File > New > Sequence. Go to the "Settings" tab. Change the "Editing Mode" to Custom. Set the frame size to whatever you need. 1080 by 1350 is a great one for Instagram portraits (4:5 ratio). It takes up more "real estate" on the screen than a square, which means people are more likely to stop scrolling.
Once you have that empty vertical sequence, drag your clips in. Premiere will ask if you want to "Keep existing settings" or "Change sequence settings." Always choose Keep existing settings. You want the video to fit your new box, not the other way around.
Common Pitfalls and Troubleshooting
One weird thing that happens? "Pixel Aspect Ratio." This is different from the frame aspect ratio. Unless you are working with vintage footage or very specific broadcast gear, your Pixel Aspect Ratio should always be "Square Pixels (1.0)." If you see "D1/DV NTSC (0.9091)," your video is going to look slightly squashed or stretched no matter what you do. Check this in your Sequence Settings.
Also, watch out for your export settings. You can spend three hours perfecting the aspect ratio in your timeline, but if you hit Export and leave the preset on "Match Source," it should work—but sometimes it defaults back to a standard H.264 widescreen. Always double-check the "Output" preview in the export window. If you see black bars there that you didn't see in your timeline, something is wrong.
A Quick Cheat Sheet for Modern Platforms
Most of us aren't doing this for fun; we're doing it for specific platforms.
- TikTok/Reels/Shorts: 1080 x 1920 (9:16)
- Instagram Feed: 1080 x 1350 (4:5) is best, or 1080 x 1080 (1:1)
- YouTube Standard: 1920 x 1080 (16:9)
- Cinema Look: 2560 x 1080 (21:9)
Mastering the Crop
Sometimes you don't want to change the whole sequence; you just want one specific shot to look different. Use the Crop effect.
Search for "Crop" in the Effects panel. Drag it onto your clip. In the Effect Controls, you can trim the top and bottom. If you want a 2.35:1 look on a 16:9 timeline, crop the top and bottom by about 12 or 13 percent. It’s a "fake" way to do it, but it’s great for adding a bit of style without messing with your project’s foundation.
Actionable Steps to Fix Your Ratio Right Now
Changing your video shape shouldn't be a headache. To get it done properly, follow these steps in order:
- Decide your destination. If it's social media, go vertical (1080x1920). If it's TV or YouTube, stay horizontal (1920x1080).
- Use Auto Reframe first. It's the fastest way. Right-click the sequence, choose Auto Reframe, and let Adobe do the heavy lifting.
- Audit the "Action." Scroll through your new sequence. Did the AI miss a shot? If a person's face is cut off, go to the Motion tab in Effect Controls and adjust the Position (the horizontal number) until they are centered.
- Check your Export. When you press Cmd+M (or Ctrl+M), look at the "Video" tab. Ensure the dimensions match what you set in your sequence. Make sure "Scale to Fit" or "Scale to Fill" is selected based on whether you want bars or a full-screen crop.
Getting comfortable with these settings makes you a much more versatile editor. You stop being the person who only knows how to make "YouTube videos" and start being someone who can produce content for any screen, anywhere. Just remember: the sequence settings are the boss. Control the sequence, and you control the video.